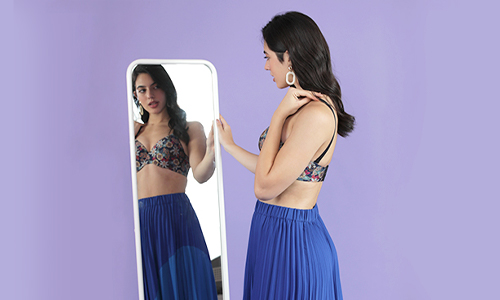
Are you frustrated by your bra curling under your bust? You’re not alone! This common issue can be irritating, but don’t worry – there are ways to tackle it. Let’s explore the reasons behind this problem and share some effective solutions. Sometimes, irregularly fitting bras may lead to a lot of discomfort and issues like the bra curling outwards or under the bust. Both are the signs of an irregularly fitted bra. Now is the perfect time to change your bra that it won’t be uncomfortable hereafter.
What Does A Bra Curling Under The Bust Mean?
A bra that curls under the bust usually indicates that it doesn’t fit properly, most commonly because the bra band is too small, causing it to ride up and curl under the breast area.
What Does a Bra Specialist Advise?
“Try a smaller band size. A full coverage or side support bra would be suitable.”
What to Look For?
The bra band should fit snugly and be level around your body. The centre panel should rest flat and comfortably against your chest.
Reasons Behind Bra Curling Under The Bust
Incorrect Band Size
The main culprit of curling is the band. A band that is too small will tend to ride up and curl under the breasts.
Mismatch of the Cups
If the cup size is too small, it may not adequately contain the breast tissue, causing the bra to bunch up underneath.
Worn Out Bra
Over time, the elastic in a bra can lose its elasticity, resulting in a loose band that may roll up.
Poor Bra Design
Some bra styles may be more prone to curling, depending on the cut and fabric.
Improper Strap Adjustments
Sometimes, curling can also occur if the straps are too loose, which may cause the bra to ride up.
Ways To Tackle This Issue!
1. Get Proper Fit
Visit a lingerie store to receive an accurate measurement for a bra that suits your body shape. A proper fit will definitely help to get rid of bra curling.
2. Focus On the Band Size
Ensure that the band is snug but comfortable around your ribcage, not digging in.
3. Check Cup Size
If the cups are too small, consider increasing your cup size while maintaining the same band size.
4. Try Different Styles
Experiment with various bra styles to find out what suits your body shape and activity level.
5. Adjust the Straps
Just make sure your bra straps are adjusted to the right length to prevent the band from riding up.
6. Replace Old Bras
Regularly replace bras that are worn out or no longer fit properly.
Final Note
We hope our in-depth guide helps in exploring common bra issues, along with effective solutions to tackle this annoying problem. It’s time to say goodbye to the frustration of your bra curling under your bust!