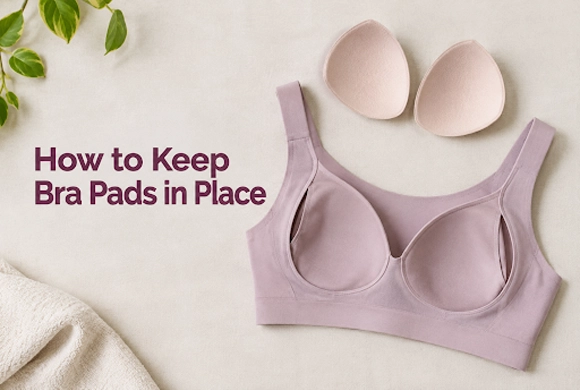
You know that moment. You’re halfway through the day, you reach up for something, and suddenly one pad has folded itself in half while the other has slid off somewhere near your armpit. Then comes the awkward bathroom trip to fix it.
Good news: this isn’t a problem. It’s a design problem, and it takes about five minutes to sort out for good.
Bra pads shift because the pocket opening is too wide, the cup is slightly too big, or the pad has softened from washing. Fix it by stitching the pocket opening narrower, adding two snap buttons or velcro dots, using double-sided body tape, or switching to a firmer moulded pad. For washing, keep pads inside the cup and use a mesh lingerie bag, or remove them and reinsert while the bra is still damp.
Why Bra Pads Move Around In The First Place
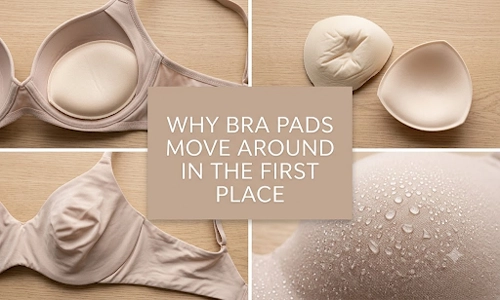
Here’s the thing nobody tells you. The foam insert in most removable padded bras is cut smaller than the cup pocket it sits in.
Add these and the pad basically has an escape plan:
- The pocket opening is too wide. Most side-entry pockets open a full 4–5 inches. That’s plenty of room to slide sideways when you raise your arm.
- Foam loses its memory. After 15–20 washes, cheap foam stops springing back. A limp pad curls at the edge and rides up.
- The cup is a touch loose. Band fits fine but the cup gapes at the top? The pad now has empty space to travel into.
- Humidity. In hot, damp weather foam holds moisture for days. Damp foam is soft foam, and soft foam slides.
Figure out which one is yours and the fix is simple.
How To Keep Bra Pads In Place While Wearing
1. Stitch The Pocket Opening Smaller
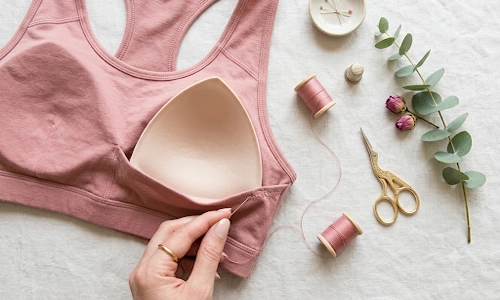
Honestly, this is the best fix and it costs nothing. Thread a needle with matching thread and sew 1 inch closed at each end of the pocket opening, leaving a gap in the middle just wide enough to slide the pad through. Keep the stitches on the inner lining only so nothing shows through your kurti.
2. Add Two Snap Buttons
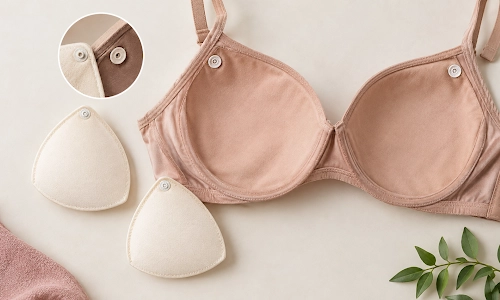
Sew one tiny snap at the top corner of the pad and its matching half on the cup lining. Two snaps per cup is enough. This is the one for long travel days when you really can’t be adjusting things.
3. Velcro Dots
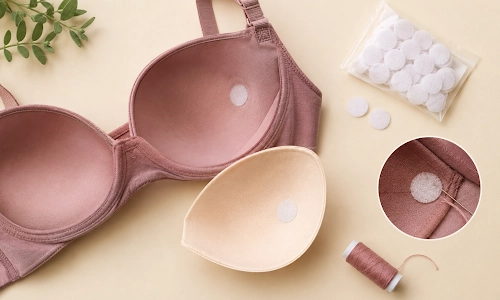
Self-adhesive hook-and-loop dots. Soft loop side on the pad, hook side on the lining. One warning: the stick-on glue gives up after a few washes, so run a couple of stitches through the dot to lock it down.
4. Double-Sided Fashion Tape
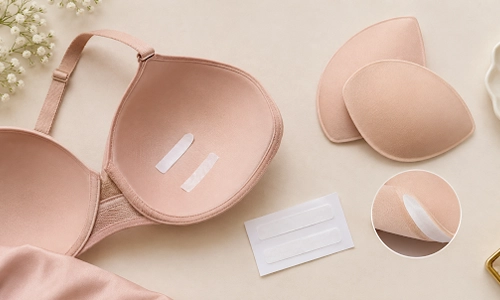
Two small strips between pad and cup, replaced each wear. Great for a wedding or a shoot day when you can’t risk it. Not for daily use though, since the adhesive leaves a grey residue on light lining.
5. Check The Pad Is Facing The Right Way
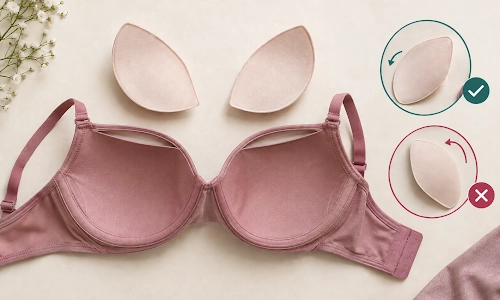
This catches so many people out. Bra pads are usually mirrored, not identical. The thicker, more curved edge belongs on the outer side near your underarm, and the thinner tapered edge points toward the centre. Put them in and they’ll fight the cup shape all day.
6. Fabric Glue, Used Sparingly
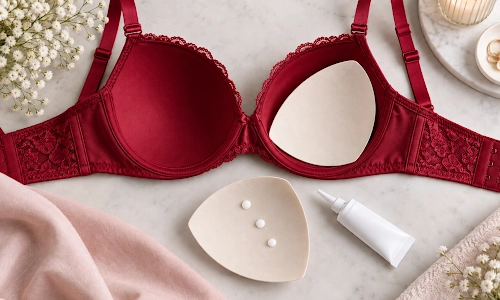
Three small dots of fabric glue on the pad’s underside, pressed and left to dry flat overnight. It works, but it’s permanent, so try it on a bra you’re not too attached to.
7. Trim An Oversized Pad
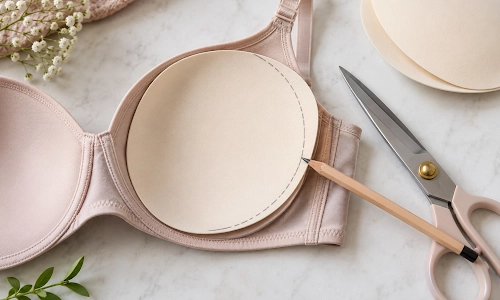
If the pad is clearly bigger than the cup, lay it inside, mark the overhang with a pencil, and trim with sharp scissors in a smooth curve. Never cut a straight line, because a corner creates a ridge that shows through thin cotton.
8. Fix The Fit, Not The Pad
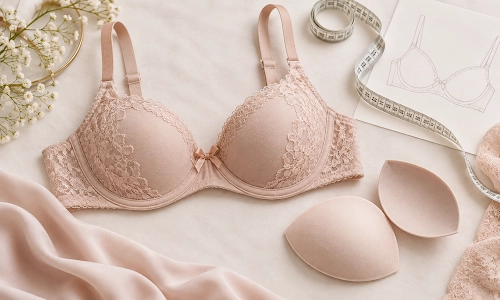
If you’re constantly adjusting, get measured. A cup that gapes at the top is the real culprit most of the time. Going down one cup size or up one band size often solves it permanently.
9. Swap In Better Pads
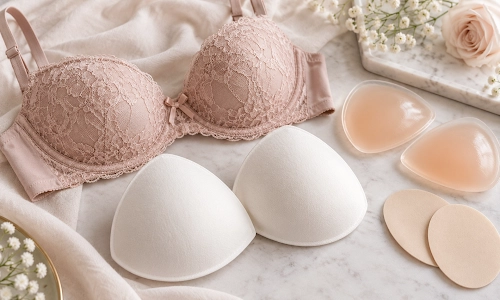
Moulded cotton or silicone inserts hold their shape far longer than the flat foam ovals that come free with a bra. Cotton is the smarter pick for hot weather because silicone traps heat.
10. Layer Smartly
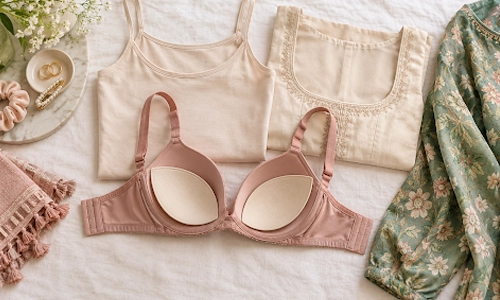
A fitted cotton camisole or a well-stitched blouse lining presses the pad flat against the cup. Loose kurtas give it room to wander.
11. Know When To Let Go
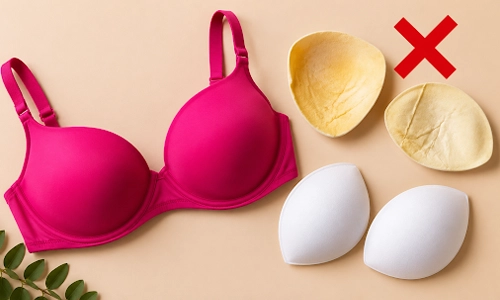
Yellowed, crumbly or permanently creased foam is done. No amount of stitching will save it. Replace the pad, not the whole bra.
How To Keep Bra Pads In Place While Washing
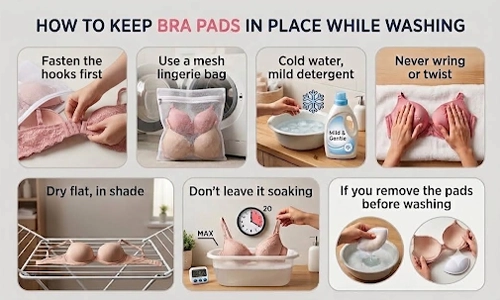
Fasten the hooks first: Open hooks snag lace and drag pads out of position.
Use a mesh lingerie bag: Even for a simple bucket wash, the bag stops pads from working their way out.
Cold water, mild detergent: Hot water and harsh powders break down foam fast.
Never wring or twist: Press the bra between a dry towel instead.
Dry flat, in shade: Hanging by one strap stretches the cup and lets gravity pull the pad down. Direct sun yellows foam and makes elastic brittle within weeks.
Don’t leave it soaking: Twenty minutes, max. Foam that sits in water for hours gets waterlogged and takes two days to dry in damp weather.
If you remove the pads before washing: Squeeze them gently in soapy water, rinse, press between a towel, dry flat. Then slide them back while the bra is still slightly damp. The cup moulds around the pad as it dries and holds shape much better.
If you use a washing machine: hooks fastened, mesh bag, delicate cycle, cold water, and never the dryer. Better still, skip the machine for padded bras.
How Do I Add Padding In A Bra That Has No Pockets?
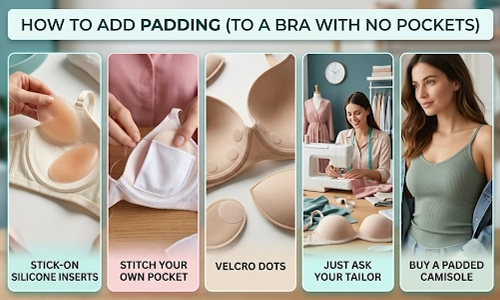
Plenty of good bras come unlined, and you can still add padding.
Stick-on silicone inserts: Cheapest starting point. They stick to the skin or cup and need cleaning every few wears.
Stitch your own pocket: Cut soft cotton lining about half an inch bigger than the pad all round. Turn the edges under, place it over the inner cup, stitch along the bottom and both sides, leave the top open. Slide the pad in through the top. Twenty minutes, tops.
Velcro dots straight on the lining: No pocket needed. Works nicely on t-shirt bras with a smooth inner surface.
Just ask your tailor: Most tailors will stitch pad pockets into a bra or blouse for ₹50 to ₹100. Carry the pads along so the pocket is cut to size.
Buy a padded camisole instead: If you’d rather not touch the bra at all.
How To Put Padding Back After Washing
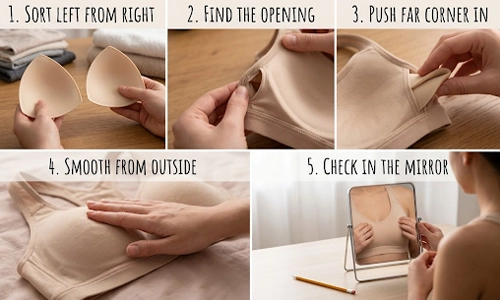
- Sort left from right. Hold both pads facing up with the curved edge out. Mismatched pads are the number one reason one side looks fuller than the other.
- Find the opening. It’s either along the side seam near the underarm or along the top edge of the cup.
- Push the far corner in first. Guide the narrow end deep into the centre corner of the cup, then let the wider end settle toward the underarm. Do it the other way round and you get a bunched edge.
- Smooth from the outside. Run your palm over the cup to flatten any ridge.
- Check in the mirror before you dress. Ten seconds now saves a bathroom trip later.
A blunt chopstick or the eraser end of a pencil helps push the pad into tight corners without tearing the lining.
The Bottom Line
Nine times out of ten, your pad isn’t broken, it’s just bored and has too much room to roam. Shrink that gap with a few stitches or a snap button and it’ll stay put like it’s actually got a job to do. On wash day, keep it simple — cold water, dry flat in the shade, and skip the tumble dryer drama. And if a pad’s gone crispy, yellow, or just refuses to hold a curve anymore, let it retire gracefully. New pad, same bra, problem solved.
Shop Featured Bras


FAQs
Can I put bra pads in the washing machine?
Yes, inside a mesh lingerie bag on a cold delicate cycle. Never in a dryer, since heat permanently deforms foam.
Why does only one pad keep moving?
Most people have one breast slightly larger than the other, so the looser cup gives that pad more room. Snaps or velcro on that side alone usually fixes it.
How often should bra pads be replaced?
Every 6 to 12 months with regular wear, sooner if you live somewhere humid. Curling edges and yellowing are your signals.
Do removable pads show through clothes?
Only if the edges are thick or squared off. Tapered-edge moulded pads disappear under thin fabrics.
Is it safe to use safety pins?
As a one-off emergency, yes, pinned on the inner lining with the point facing away from you. Not a long-term fix though, because pins tear lace and leave holes.